

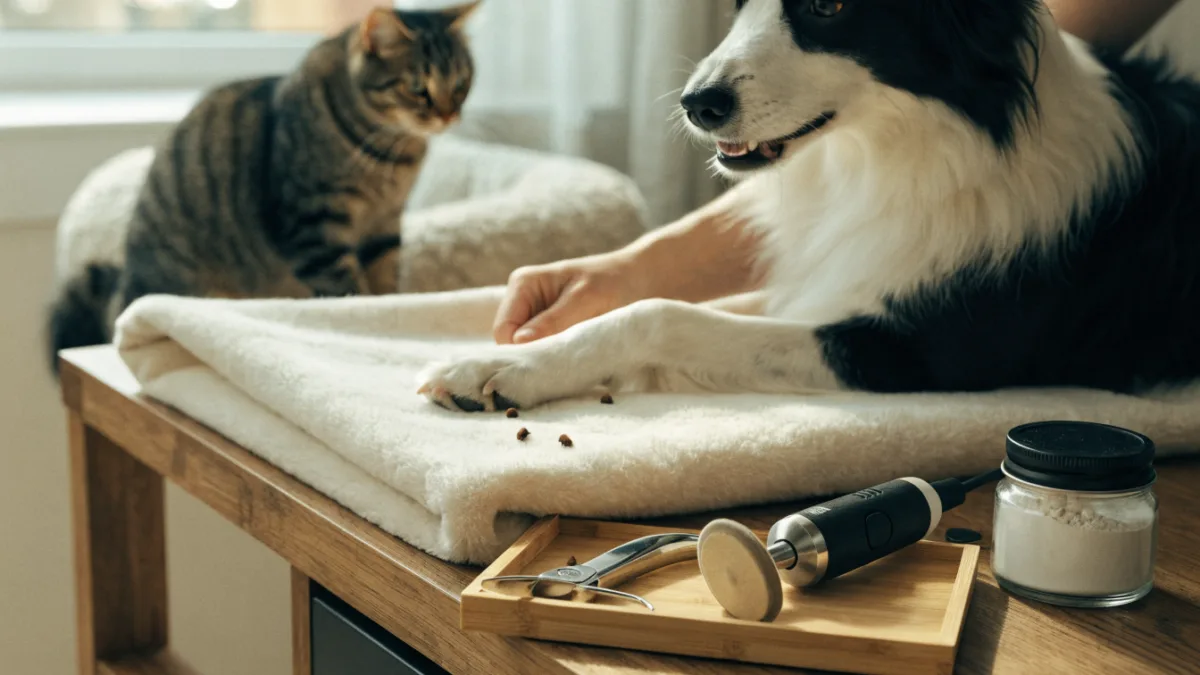
Nail trimming day in my house used to look like a hostage negotiation. My cat Mochi would morph into a liquid state and disappear under the refrigerator, and my dog Biscuit would offer his paw with trembling optimism — only to yank it back the second he heard the snip. I spent years thinking I just had dramatic pets. Turns out, I had the wrong tools and zero plan.
Here’s what nobody tells you when you adopt your first pet: nail care is non-negotiable, and getting it wrong doesn’t just mean a scratched sofa or clicked floors. Overgrown nails force your pet to shift their weight backward every time they stand. Over months and years, that altered posture wrecks their joints, inflames arthritis, and can cause permanent tendon damage. The quick — that bundle of blood vessels and nerves inside each nail — actually grows longer as the nail grows, which makes future trims harder and riskier. So avoiding the problem only makes the problem worse.
The good news? Once you understand the difference between traditional clippers and electric grinders (often called dremels), and once you commit to a gentle desensitization process, nail care stops being a wrestling match. It might — might — even become something close to routine.
The Anatomy Lesson You Actually Need
Dog nails and cat claws look similar, but they function completely differently, which means your approach to each species has to change.
A dog’s nail is a hard outer shell protecting the quick inside. Cut the quick and you get bleeding, pain, and a pet who now associates nail trims with genuine suffering. Some dogs have white or light nails where the quick is visible as a pink stripe — easy. But if your dog has black nails, like Biscuit, you’re working blind. The trick is to trim small slices and look at the tip of the nail straight-on after each cut. When you see a small, chalky white or gray circle in the center, stop. That’s the top of the quick.
Cat claws are a different beast entirely. They’re retractable, which means they’re curved, thinner, and sharper. They also grow in layers — cats scratch furniture (and your favorite chair, and the doorframe, and somehow the ceiling?) to shed the dead outer husk and expose the fresh claw underneath. Indoor cats and especially seniors don’t always wear down or shed their claws effectively, which is how you end up with nails that curl around and grow directly into the paw pad. I’ve seen it happen to a friend’s elderly cat, and it was entirely preventable. For cats, regular trimming isn’t cosmetic. It’s preventive medicine.
Clippers: The Classic Approach
Scissor-Style Clippers
These look like small scissors with curved blades, and they’re my go-to for cats. You get real control and precision, which matters when you’re working with tiny, curved claws. They’re quiet, there’s no motor to spook a nervous animal, and they’re straightforward to use once you find your angle.
Guillotine-Style Clippers
You slide the nail through a small hole and squeeze, and a blade comes down. Some people love these for small dogs, but honestly, I find them harder to position correctly, and if your pet pulls away mid-cut, the nail can get caught and twist. Not ideal for a wiggly cat.
Quick-Sensor Clippers
These have a sensor designed to detect the quick and warn you before you cut too deep. They’re marketed heavily toward nervous beginners, and the concept is great. In practice, though, the sensor isn’t foolproof, especially on dark nails. Use them as a backup safety measure, not a substitute for learning to read the nail yourself.
Here’s the real trade-off with clippers: they’re fast and quiet, but they cut by pinching. Even when you don’t hit the quick, that pinching pressure can cause micro-trauma. Some groomers believe this is why certain pets develop lifelong nail-trim phobias — they’re not being dramatic. It actually hurt.
Dremels: The Grinding Alternative
Electric grinders file the nail down with a rotating sanding band instead of cutting it. The advantages are significant: you get a smooth, rounded edge with none of the sharp burrs that clippers leave behind, and because you’re filing gradually, it’s much harder to accidentally hit the quick. If you go too far, you’ll feel resistance before you do real damage. The nail is also less likely to splinter or crack.
But dremels aren’t perfect. The vibration and the buzzing noise can terrify a pet who’s never been exposed to one. The sanding band can get hot if you hold it in one spot too long, so you need to keep it moving. And there’s a learning curve to holding both the tool and a squirming paw.
For dogs, I genuinely prefer a grinder for maintenance once the pet is comfortable with it. The smooth finish means fewer scratched floors and snagged blankets. For cats, the dremel debate gets trickier — their claws are so thin that a grinder can work very quickly, sometimes too quickly, and most cats are more sound-sensitive than dogs. If you have a cat who already hides when you turn on the vacuum, the dremel might be a non-starter. Mochi certainly wasn’t having it.
The Desensitization Process: Skip This and Nothing Works
This is where most people — including past me — fail. You can’t just grab the clippers, corner your pet, and power through. That’s how you build a phobia that takes months to undo.
Desensitization works the same way whether you’re using clippers or a dremel, and whether you’re working with a dog or a cat:
- Start with the tool completely off — just set it near your pet during treat time. Pair the sight of the clippers or dremel with high-value rewards. We’re talking the really good stuff here, not dry kibble. Small bits of plain cooked chicken, tiny lickable treats, whatever your pet loses their mind over.
- Touch the tool to each paw without doing anything. Treat. Praise. Stop before your pet gets restless. Short sessions beat long ones every time.
- For a dremel, turn it on at a distance. Let your pet hear the buzzing without it touching them. Gradually bring it closer over multiple sessions. If they panic, you moved too fast.
- Grasp each toe gently and press on the pad to extend the nail. This simulates what a trim feels like. More treats.
- Trim or grind exactly one nail. Just one. Then stop and celebrate like your pet just won an Olympic medal. The next day, do two. Build slowly.
With cats, you often have to work in even smaller increments. I used to trim one of Mochi’s claws per evening while she was half-asleep on my lap after dinner. It took me almost two weeks to get through all eighteen. Was it efficient? No. Did it work without anyone getting bitten? Yes.
Cats also need consistent scratching surfaces — sturdy posts, cardboard pads, whatever they’ll actually use — to help shed those dead claw layers between trims. Trimming and scratching work together, not as substitutes.
The Brand Debate I’m Not Going to Settle
People get oddly tribal about grooming tools. Some insist dremels are the only humane option. Others swear clippers are fine if you’re skilled. The truth is simpler: the best tool is the one your pet tolerates and you can use confidently.
If you’re deeply unsure, start with a basic scissor-style clipper. They’re inexpensive, quiet, and effective. If your pet already panics at the pinch or if you’re consistently leaving jagged edges, try a grinder. If your pet is a senior with thick, brittle nails — common in older dogs — a grinder might genuinely be the better call because it files rather than crushes. But don’t feel pressured into buying expensive equipment before you’ve established the basic routine.
Quick (Cut) Recovery
Somewhere along the way, you will probably cut a quick. It happens to groomers, veterinarians, and experienced owners alike. It bleeds more than you’d expect, and it’s upsetting, but it’s rarely dangerous. Keep styptic powder on hand — it stops bleeding almost instantly. If you don’t have any, cornstarch works in a pinch. Apply gentle pressure, stay calm (your pet reads your energy), and give them a break for the day.
If bleeding doesn’t stop after several minutes, or if your pet seems to be in significant pain, that’s the moment to call your vet. Not everything is an emergency, but persistent bleeding warrants professional eyes.
Why This Matters More Than You Think
Nail care sits in that unglamorous category of pet ownership that’s easy to procrastinate. It’s not as urgent as a limp or as obvious as a dull coat. But those tiny, overgrown nails are quietly reshaping how your pet moves through the world, and the damage compounds over time.
The pets most vulnerable to neglect are the ones least able to advocate for themselves: senior cats who sleep most of the day, arthritic dogs who already struggle on walks, shy or fearful animals who make grooming feel like a battle. These are exactly the pets whose quality of life improves most when someone takes the time to do this gently and consistently.
Building a fear-free nail routine isn’t just about avoiding the worst-case scenario of an ingrown claw or a torn nail snagged on carpet. It’s about giving your pet one less thing to endure in a world they don’t always understand. And honestly? There’s something deeply satisfying about reaching the point where your dog trots over when the dremel comes out, or your cat barely opens one eye while you carefully snip away. That trust doesn’t happen by accident. You build it, one nail at a time.