

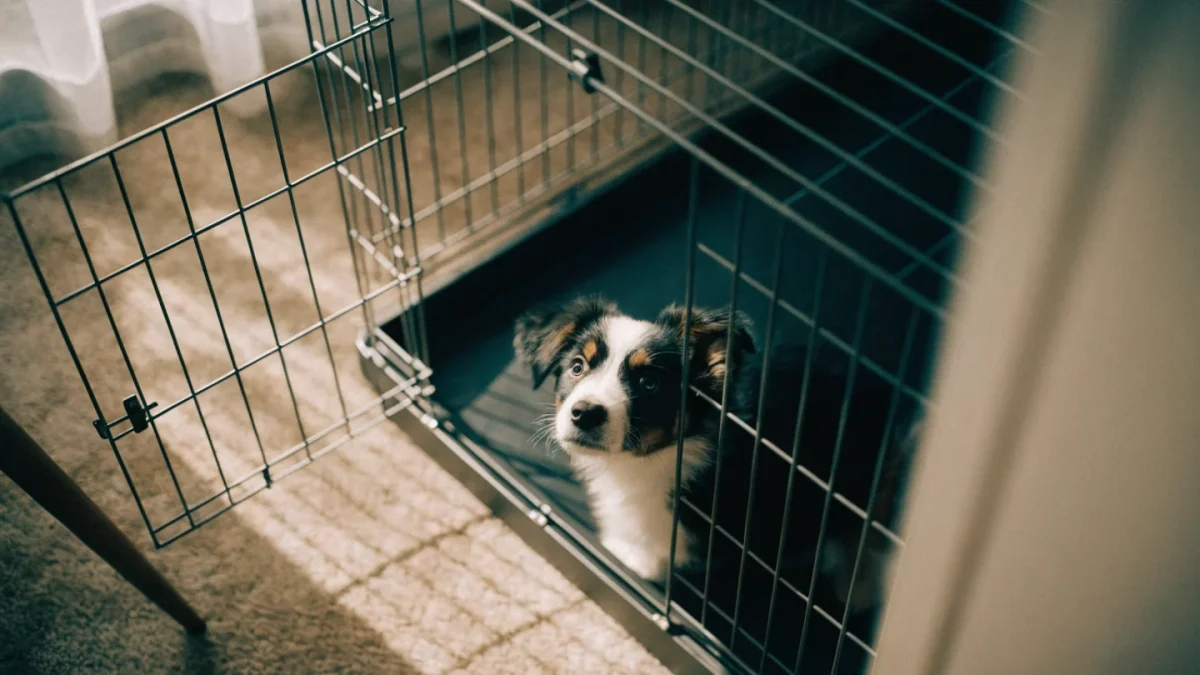
I've seen crate training go wrong in exactly one way, and it's almost always the same: the owner skips the introduction and goes straight to closing the door.
Their puppy screams. They feel awful. They open the crate because they can't stand it. The puppy learns that screaming opens doors. The cycle repeats.
The introduction phase is not optional. Skip it, and you're doing three times the work to get half the result.
What You're Actually Teaching
Puppies aren't born with any particular feeling about crates. They have no idea what a crate is. A crate is a weird metal box that has appeared in their new home, and their first experiences with that box will determine how they feel about it for a very long time.
Your job in the introduction phase is to build a genuine positive association — not just tolerance, but actual enthusiasm. A puppy that runs into their crate on their own is a puppy whose entire relationship with confinement is different from one who was forced in on day one.
This takes a few days. It's worth it.
The Right Crate Size
Before the introduction, make sure the crate is the right size. This matters more than most people think.
The crate should be large enough for your puppy to stand up, turn around, and lie down comfortably — and nothing more. A crate that's too large gives the puppy room to soil one corner and sleep in another, which defeats the house training benefit entirely.
If you buy an adult-sized crate for a puppy (which is economical), use a divider to reduce the usable space. Adjust the divider as they grow.
Wire crates, plastic travel crates, and fabric crates all work. Choose based on your dog's needs: wire offers better airflow and visibility, plastic feels more den-like, fabric is lightweight for travel. Most puppies do fine with any type during the introduction phase.
Step 1: Let the Crate Exist (Day 1)
Set up the crate in the room where your puppy spends the most time. Put a soft blanket inside, maybe a worn item of your clothing for scent. Leave the door open.
Don't do anything. Let your puppy discover the crate on their own.
Some puppies walk right in within an hour. Others take a full day to get curious. Toss a few treats just inside the entrance — not deep inside, just near the opening — and let them figure out that good things live near this box.
No pressure. No luring them inside. Just let it exist.
Step 2: Feed Meals Near the Crate (Day 1-2)
At your puppy's next meal, set their bowl just outside the crate entrance. The next meal, right at the entrance. The next meal, just inside the entrance, door still open.
Meals are high-value. Using them near the crate builds a strong positive association without any forced interaction. Your puppy will start to associate the crate with something they definitely like.
Step 3: Feeding Fully Inside the Crate (Day 2-3)
Once your puppy is comfortable eating at the entrance, move the bowl farther back inside the crate. Let them walk in, eat, and walk back out on their own. Door remains open.
If your puppy hesitates to go further in, don't push. Place the bowl just far enough inside that they have to step in with both front paws. Each meal, inch it back a little further.
Step 4: Close the Door Briefly (Day 3-4)
Your puppy is eating inside the crate with the door open, relaxed. Now, while they're eating, gently close the door.
Don't latch it. Don't walk away. Just hold it loosely closed while they finish their meal. The moment they're done, open it.
Next meal: close and latch the door. Open it after a few seconds. Gradually extend — 10 seconds, 30 seconds, a minute.
If your puppy panics or cries, you moved too fast. Take the door off for another day and go back to step 3. There is no timeline to beat here.
Step 5: Short Durations Outside of Meals
Once your puppy is comfortable with the door closed during meals, practice short crate time between meals. Toss a treat or chew item inside, let the puppy enter on their own, close the door, wait 1-2 minutes, and let them out — before they start crying if you can.
Gradually extend. 5 minutes. 10 minutes. 15 minutes. Build from there.
The golden rule: let them out before they protest, not after. If you wait for crying and then let them out, you've taught them that crying opens doors. Get them out on your terms, not theirs.
What Not to Do
Don't use the crate as punishment. If your puppy goes in the crate when they've done something wrong, the crate becomes associated with your displeasure. You want it associated with good things.
Don't leave them in too long too soon. Puppies have small bladders. If they're forced to soil the crate, you've broken the house training association and damaged their relationship with the crate simultaneously.
Don't respond to crying by letting them out. If they're upset, wait for a brief pause in crying and then let them out — never during active crying. If the sessions are short enough (you're building duration gradually), you shouldn't be in this situation.
Don't cover the crate in ways that make it suffocating. A blanket over the top can help some puppies feel more den-like, but leave the front open for airflow and visibility.
What to Put in the Crate
A soft mat or blanket is enough for most puppies. A chew item — appropriate for your puppy's size — can help with settling. Your scent (an old t-shirt) can be calming. (See also: crate training dogs.)
Avoid stuffed toys that can be torn apart and swallowed, and avoid anything the puppy hasn't already shown they can safely interact with.
A crate cover (a blanket or crate cover over the top and sides, leaving the front open) can help puppies who seem easily stimulated by environmental movement.
The single most useful habit: every time your puppy goes near the crate, drop a treat inside the entrance. You're passively building the association that the crate is where good things appear. It takes thirty seconds and it works.