

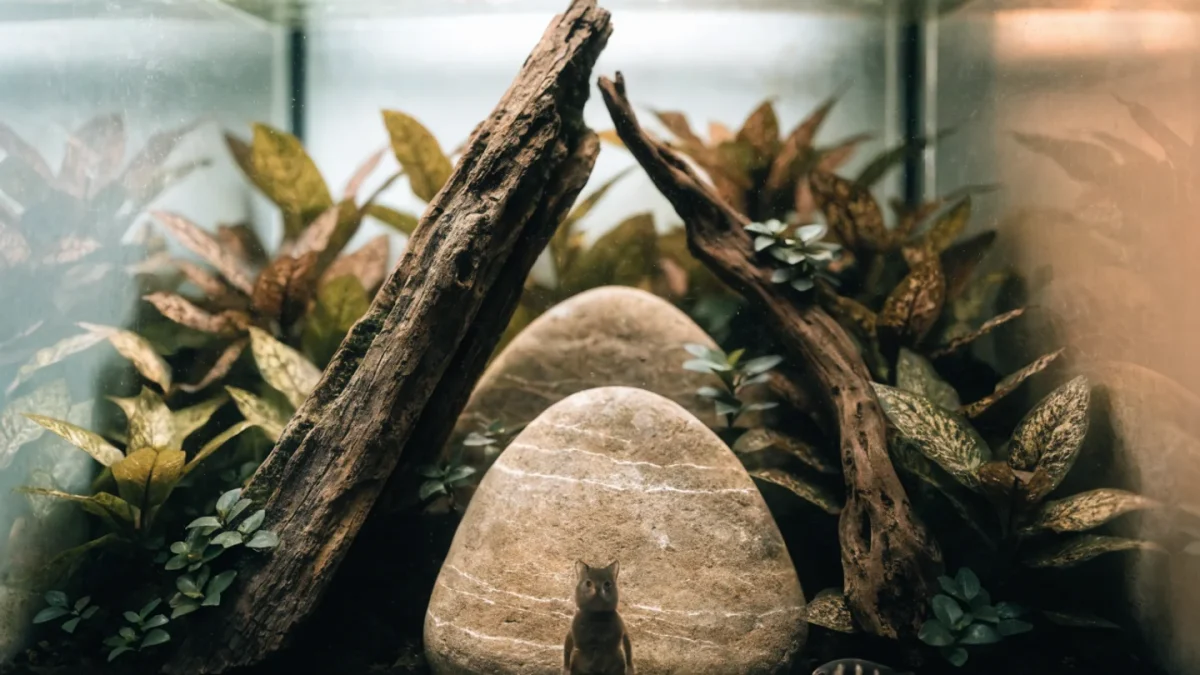
I spent four hundred dollars on my first aquascape and tore it apart after nine days. The stones looked random, the plants were already getting shaded by taller species I'd put in the wrong spot, and the whole thing had the visual coherence of a yard sale. Nobody warned me that the hardscape — the bones of the layout — matters more than the plants, and that you should spend more time arranging rocks dry than anything else.
Aquascaping for beginners comes down to three things: pick a style that matches your patience and budget, learn two or three composition principles, and plant heavily from day one. Your first layout won't be perfect. Mine certainly wasn't, even the second time. But a tank built on solid fundamentals grows into something worth looking at, while a tank built on impulse purchases grows into a maintenance headache.
If you've already got planted aquarium fundamentals down — substrate, lighting, CO2 decisions — you're ready to think about design.
The Three Styles Worth Knowing
Most aquascapes fall into three broad categories. You don't have to pick one rigidly, but understanding them gives you a framework.
Nature style mimics a scene from the wild — a stream bank, a forest floor, a hillside. Driftwood and stones create the structure, and plants fill in around them in a way that looks organic rather than arranged. This is the most forgiving style for beginners because irregularity is the point. A branch that sticks out at a weird angle? That's character. Asymmetry? Intentional.
Dutch style skips hardscape almost entirely and treats the aquarium like a garden bed. Plants are arranged in dense rows and groupings organized by color, leaf shape, and height — think of it as an underwater flower arrangement. Dutch tanks demand strong plant knowledge and relentless trimming. I wouldn't recommend this as a first layout because maintaining those clean color blocks requires pruning every five to seven days and a solid understanding of growth rates.
Iwagumi goes the opposite direction. A few carefully chosen stones, a single carpeting plant species, and a lot of negative space. It looks minimal. It is brutally hard to execute because there's nowhere to hide mistakes — every stone placement, every thin patch in the carpet, every thread of algae is visible. Beautiful but unforgiving.
For your first aquascape, Nature style gives you the most room to learn.
Composition Principles That Actually Help
The rule of thirds. Imagine your tank divided into a 3×3 grid. Place your main focal point — the tallest stone, the dominant piece of driftwood — at one of the four intersection points, not in the center. Center placement looks static. Off-center placement creates visual tension and makes the eye travel.
Golden ratio and triangles. You don't need to calculate the golden ratio. Just aim for a triangular composition: one side of the tank higher than the other, sloping down toward the opposite end. The highest point should hit roughly the top third of the water column at its peak. This creates depth and the illusion of a bigger tank.
Odd numbers. Three stones look more natural than four. Five stems in a cluster beats six. Our brains read even groups as arranged, odd groups as found. I can't explain the neuroscience, but it works.
Depth tricks. Use smaller stones and fine-leaved plants toward the back. This forced perspective makes a 60cm tank feel deeper. Raising the substrate from front to back — maybe 3cm in front, 8-10cm in back — amplifies the effect.
Planning Before You Get Wet
Sketch your layout. I keep a cheap notebook next to my tanks and draw rough rectangles with stone placements before I touch the aquarium. Sounds excessive for what amounts to rocks in a box. It's not. Moving wet stones around in substrate turns into a muddy disaster fast.
Arrange your hardscape dry. Put the substrate in, place stones and wood, step back, look at it from the viewing angle. Walk away. Come back in an hour and look again. I've moved a single stone fifteen times in one afternoon — and the final placement was the second one I tried. That's fine. It's cheaper to fuss now than to replant around a stone you moved three weeks in.
Buy more plants than your sketch suggests. At least 30-40% more. Sparse planting leads to algae because there aren't enough plants competing for nutrients and light. Dense planting from day one is the single best algae prevention strategy I know.
Your First Layout: Keep It Simple
Three to five plant species. One type of stone or one piece of driftwood — not both, not yet. A foreground plant, a midground plant, and a background plant. That's it.
A layout that has worked well for people I've walked through their first setup: dragon stone arranged in a rough triangle, Cryptocoryne wendtii 'green' in the midground, Anubias nana 'petite' attached to the stone, and Vallisneria spiralis behind the main rock group reaching up toward the light. All are low-demand species. All tolerate a learning curve.
Don't try to recreate the contest-winning tank you saw on social media. That tank was built by someone with years of practice, a specific plant list sourced over months, and probably five failed versions before the one they posted.
Maintenance and Growing In
A new aquascape looks bare. Resist the urge to add more. Plants fill in. Give them six to eight weeks. By week four you'll start seeing runners from ground cover, new growth on stem plants, and Anubias slowly — painfully slowly — putting out a new leaf.
Trimming shapes the layout over time. Top stem plants when they reach about two-thirds of the water column height. Replant the cuttings to fill sparse areas. Remove dead or yellowing leaves so they don't decay and feed algae.
Water changes keep nutrients balanced. Weekly, 25-30%, without exception. I've seen gorgeous tanks collapse into algae nightmares when the owner stopped water changes because "the tank is established." An established tank needs maintenance. A neglected tank doesn't stay established for long.
And take photos. Monthly, from the same angle. You won't notice the growth day to day, but the difference between month one and month four is dramatic and genuinely satisfying to look back on.
FAQ
What size tank is best for a first aquascape?
A 10-20 gallon (roughly 45-60cm) tank is ideal. Smaller tanks are harder to maintain stable water parameters, and larger tanks cost more to fill with plants and hardscape. A 60cm rimless glass tank has become the beginner standard for a reason — it's big enough to create depth but small enough to manage easily.
How much does it cost to start aquascaping?
Honestly, more than people expect. A basic setup — tank, light, filter, substrate, hardscape, and enough plants to fill it densely — runs around two to four hundred dollars depending on where you source materials. You can spend less with secondhand equipment and locally collected hardscape (where legal), but cutting corners on the light or substrate usually costs more in the long run through plant replacements and algae remedies.
Do I need expensive tools for aquascaping?
Long tweezers and curved scissors make planting dramatically easier, and a decent set costs under twenty dollars. Beyond that, a spray bottle for misting during planting and a good substrate leveler (or a ruler, honestly) cover the essentials. You don't need a full tool roll to start. I used kitchen scissors and chopsticks for my first three tanks.